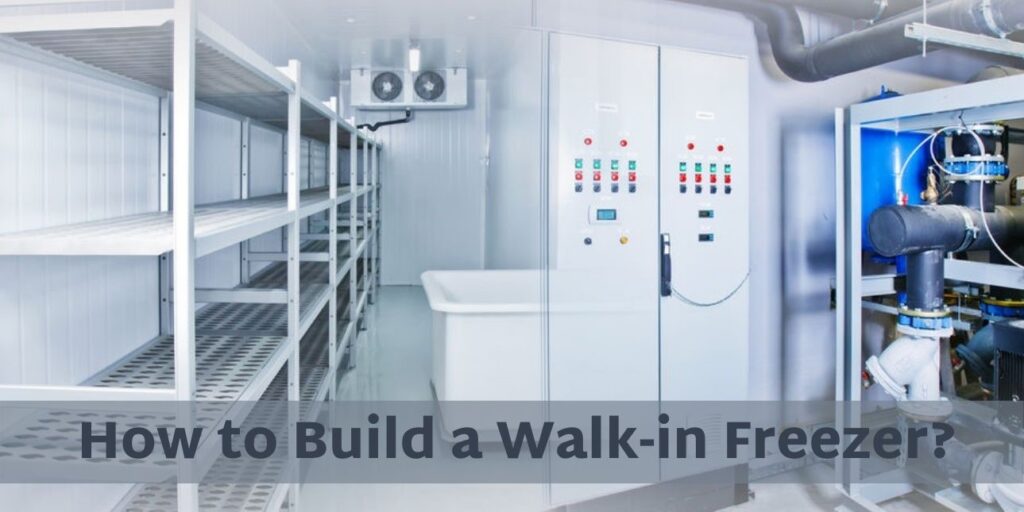
Step-by-Step Guide to Constructing a Walk-in Freezer
Introduction:
Walk-in freezers are essential appliances for restaurants, food storage facilities, and commercial kitchens where maintaining low temperatures is crucial to preserve perishable goods. Constructing a walk-in freezer may seem like a daunting task, but with the right approach and proper planning, it can be a manageable and rewarding project. In this step-by-step guide, we’ll walk you through the process of building your very own walk-in freezer.

Step 1: Planning and Design
The first step in constructing a walk-in freezer is to carefully plan and design the structure. Consider factors like the available space, required freezer capacity, and access points. Decide on the freezer’s dimensions, layout, and insulation requirements. Obtain any necessary permits and ensure compliance with local building codes and regulations.
Step 2: Gather Necessary Materials and Equipment
Before starting the construction, gather all the materials and equipment required for the project. The essential materials include metal studs, insulated panels, a sturdy floor, vapor barrier, weatherproofing materials, heavy-duty door(s), and appropriate cooling equipment such as refrigeration units and evaporators.
Step 3: Build the Frame
Start by constructing the frame of the walk-in freezer. Use metal studs to create the walls and ceiling. Ensure the frame is sturdy and square, as it forms the foundation for the entire freezer. Attach the metal studs securely to the floor and ceiling using appropriate hardware.
Step 4: Insulate the Walls and Ceiling
Proper insulation is vital to maintain the desired low temperature inside the freezer. Install insulated panels on the interior side of the metal frame. High-quality insulation materials, such as polyurethane foam, are recommended for maximum efficiency.
Step 5: Install the Flooring
The freezer floor requires special attention, as it needs to withstand heavy loads and maintain thermal integrity. Choose a durable, non-slip flooring material suitable for freezer environments, such as epoxy-coated concrete or insulated panels.
Step 6: Install the Door(s)
Select a heavy-duty, well-insulated door(s) with a reliable sealing mechanism to prevent temperature leakage. Properly install the door frame and make sure it fits snugly against the freezer walls. A properly sealed door is critical for energy efficiency.
Step 7: Weatherproofing
To maintain the freezer’s temperature and prevent any air leakage, apply weatherproofing materials around the edges of the walls, ceiling, and floor. Seal any gaps and joints with caulk or specialized weatherproofing tapes.
Step 8: Cooling System Installation
Install the cooling system components, such as refrigeration units and evaporators, according to the manufacturer’s instructions. These components play a crucial role in regulating the internal temperature of the walk-in freezer. Ensure that the cooling system is appropriately sized for the freezer’s dimensions and required cooling capacity.
Step 9: Final Inspection and Testing
Before using the walk-in freezer, conduct a final inspection to ensure everything is in place and properly installed. Test the cooling system to verify its functionality and check for any potential issues. Address any problems before proceeding.
Conclusion:
Constructing a walk-in freezer can be a challenging task, but by following this step-by-step guide and paying attention to details, you can successfully build a reliable and efficient freezing space. Proper planning, quality materials, and attention to insulation and weatherproofing will contribute to a long-lasting freezer that meets your specific needs for storing perishable goods in a controlled environment. Whether it’s for a commercial kitchen or a food storage facility, your well-constructed walk-in freezer will provide peace of mind and ensure the preservation of your valuable inventory.


Leave a Reply